Khandvi is famous Gujarati Snack. This recipe is a little tricky to make. Khandvi is made up of Gram flour (Besan) and Yogurt, flavoured with Green Chilly and Ginger Paste and tempered with mustard seeds (Rai ka tadka). Khandvi needs a lot of patience to make as getting the right consistency of batter is the key here, that needs a lot of practice. You would be lucky and really good at cooking to get it right in the first attempt. Spreading the Khandvi batter in thin layer to roll it will require the right consistency.
Khandvi Recipe with step by step photos:
Khandvi is a popular mouthwatering Gujarati Snack. Khandvi Recipe is my all time favourite.
- 1 cup Gram Flour (besan)
- 3/4 cup Yogurt (dahi)
- 1.5 cup Water
- 1/2 tsp Turmeric Powder (haldi)
- 1 tsp Salt (namak)
- 1 tsp Chilli-Ginger Paste (adrak-mirch paste)
- 1 tbsp Lemon (nimbu)
- 1 pinch asafoetida (hing)
- 2 tsp Oil
- 1 tsp Mustard Seeds (rai)
- 12 pc Curry Leaves (kari patta)
-
Take 1 cup fresh Besan and sieve it properly with a strainer in a bowl.
-
Mix 1.5 cup Water and 3/4 cup Yogurt to make buttermilk.
-
Add buttermilk to the sieved Besan.
-
Add all other ingredients i.e. 1/2 tsp haldi, 1 tsp salt, 1 tsp chilly-ginger paste, pinch of hing and 1 tbsp nimbu juice to the mixture and mix it well with a spatula or a wired whisker so that their is no lumps and the mixture is smooth.
-
Greasing of Plates: Prepare 4 plates for spreading Khandvi batter by applying little bit of oil on it and spread it well. We can use back of the plate or kitchen top or back of the baking tray etc.
-
Empty the prepared mixture into a flat bottom kadai and put it on low to medium gas flame. Keep Stirring it continuously. Mixture will become thick but lumps will start to form. In order to avoid forming of lumps keep stirring the mixture.
-
If it looks like that batter is cooked then perform the plate test. Take a spoon of batter and spread it over a greased plate. Let it cool. Once it is cool, start rolling it gently. If it does not stick to the plate then it means our batter is done and if it is sticking it means we need to cook it for few more minutes. It took about 15 minutes of cooking for me to get the correct consistency of Khandvi batter.
-
Take some batter and start spreading it, over the back of the greased plate, into thin layers. We need to be very quick because if the batter cools down it will become too thick and will not spread properly. Don't switch off the gas flame while spreading the batter. Keep it on low flame. If you switch it off the remaining Khandvi batter will cool down and become thick and difficult to spread.
-
Spread the remaining batter over the other plates into thin sheets. Let it cool. Once it is cool, cut it into strips with knife and start rolling it gently with your fingers into khandvi rolls.
-
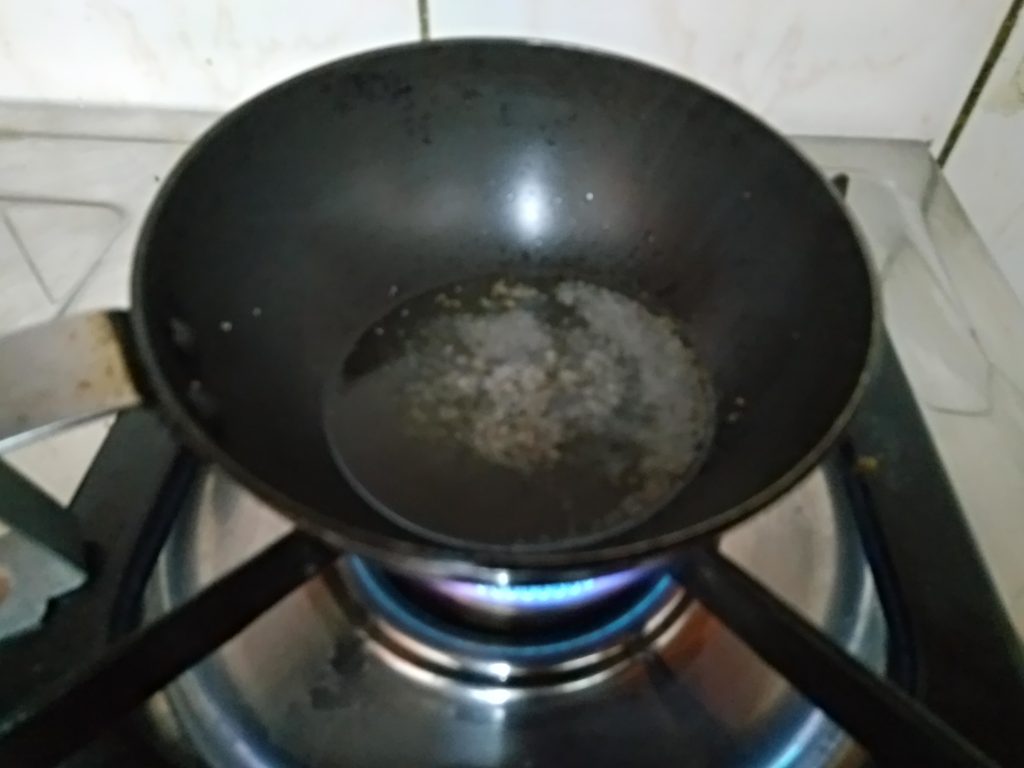
Take 2 tsp oil in a tadka pan and put it on low to medium gas flame. Let it warm.
-
Add 1 tsp rai. Let it crackle. Switch off the gas flame.
-
Add curry leaves. Spread it over the Khandvi Rolls.
-
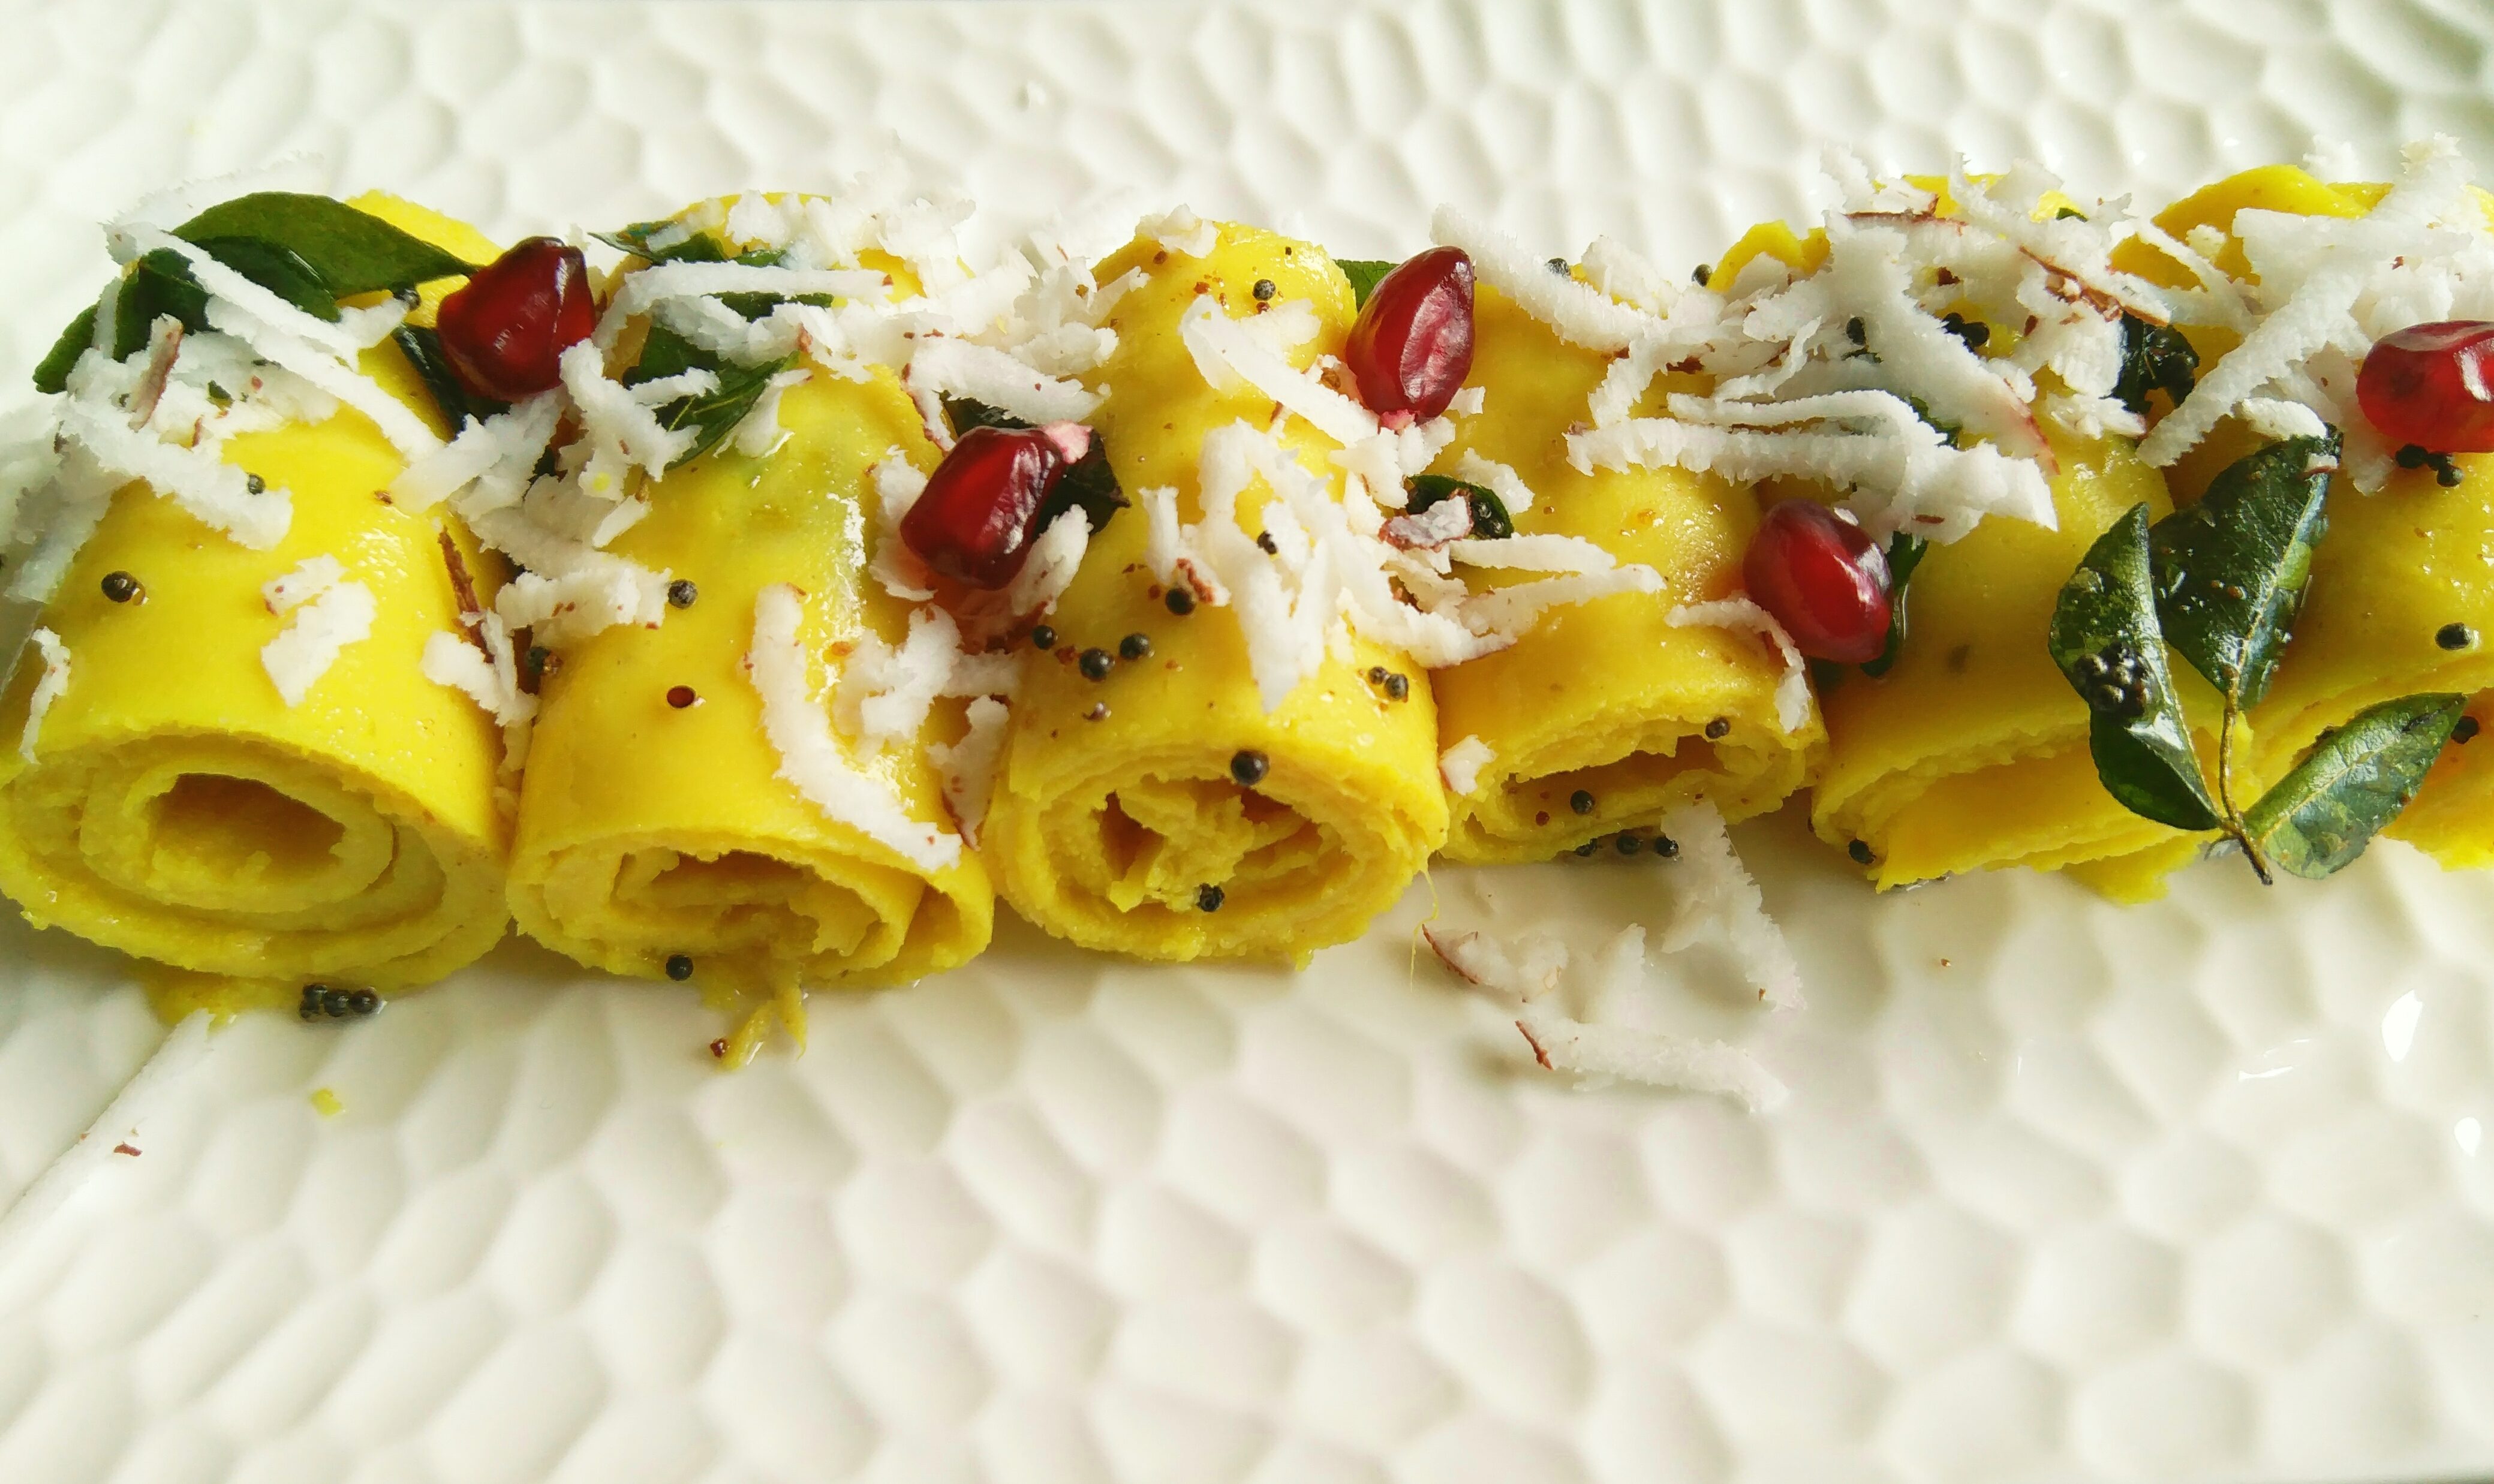
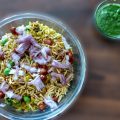
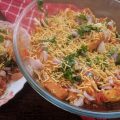
Garnish it with some fresh grated coconut and pomegranate seeds.
-
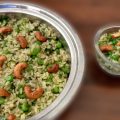
Serve it as a snack with Green Chutney.
Step wise Procedure to make Gujarati Khandvi:
For making Khandvi Roll:
- Take 1 cup fresh Besan(gram flour) and sieve it with a strainer so that their is no lumps. Take fresh Besan.
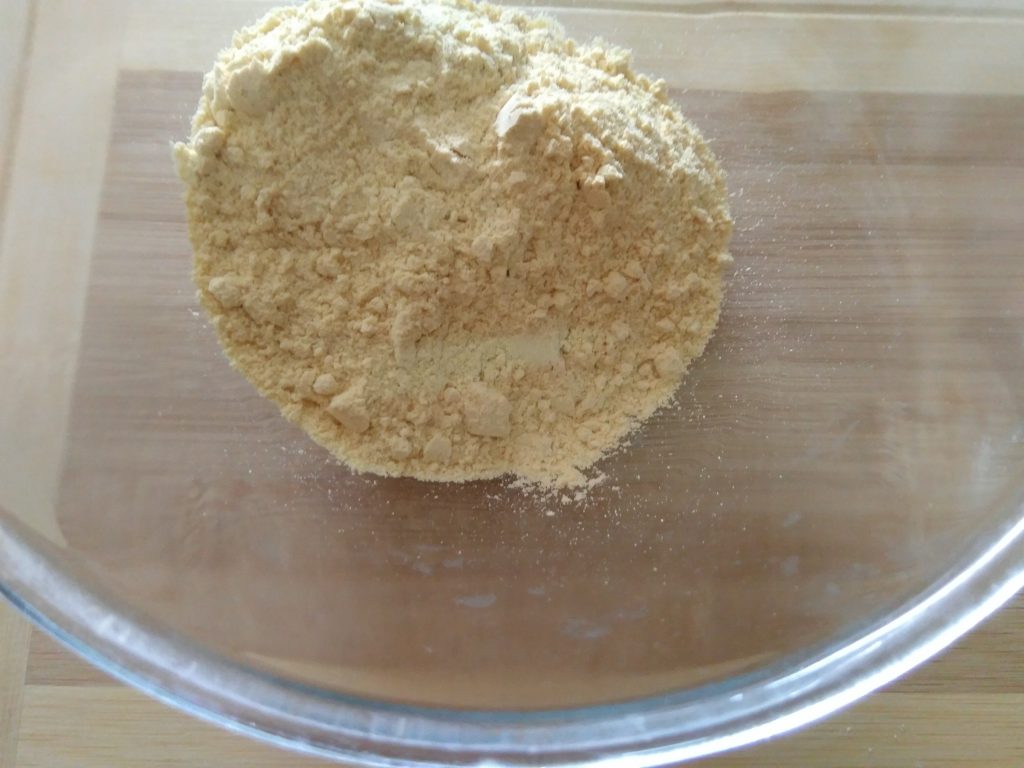
Sieved Besan in a bowl
- Take 3/4 cup yogurt and 1.5 cups water and mix it well to make a Buttermilk.
- Add Buttermilk to the sieved Besan in step #1.
- Add remaining ingredients to the mixture i.e. 1/2 tsp turmeric powder, 1 tsp salt, 1 tsp chilly-ginger paste, 1 tbsp lemon juice and a pinch of hing (asafoetida) to the mixture in step #3 and mix it well with a spatula or a wired whisker so that there are no lumps in the mixture and we get a smooth paste.
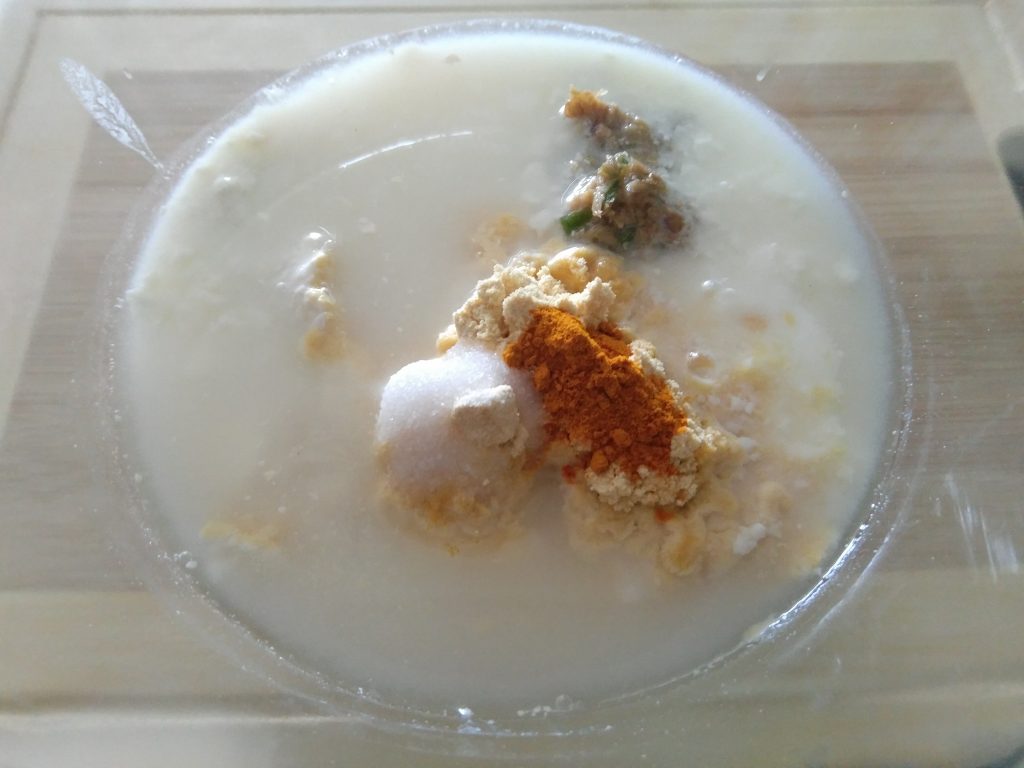
All the Ingredients together in a bowl for Khandvi Recipe
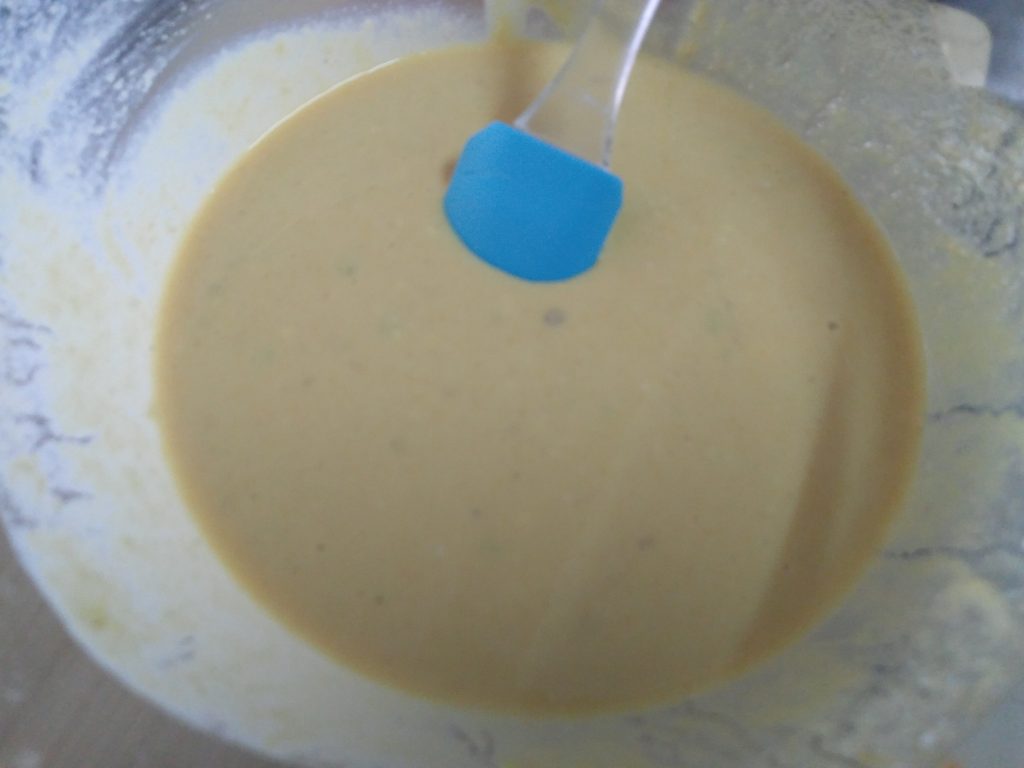
Smooth and Lump free Khandvi mixture
- Take 4 plates and spread some oil all over the back of the plate. You may use back of the steel lid, kitchen top or back of baking tray. Just make sure the surface is flat and smooth
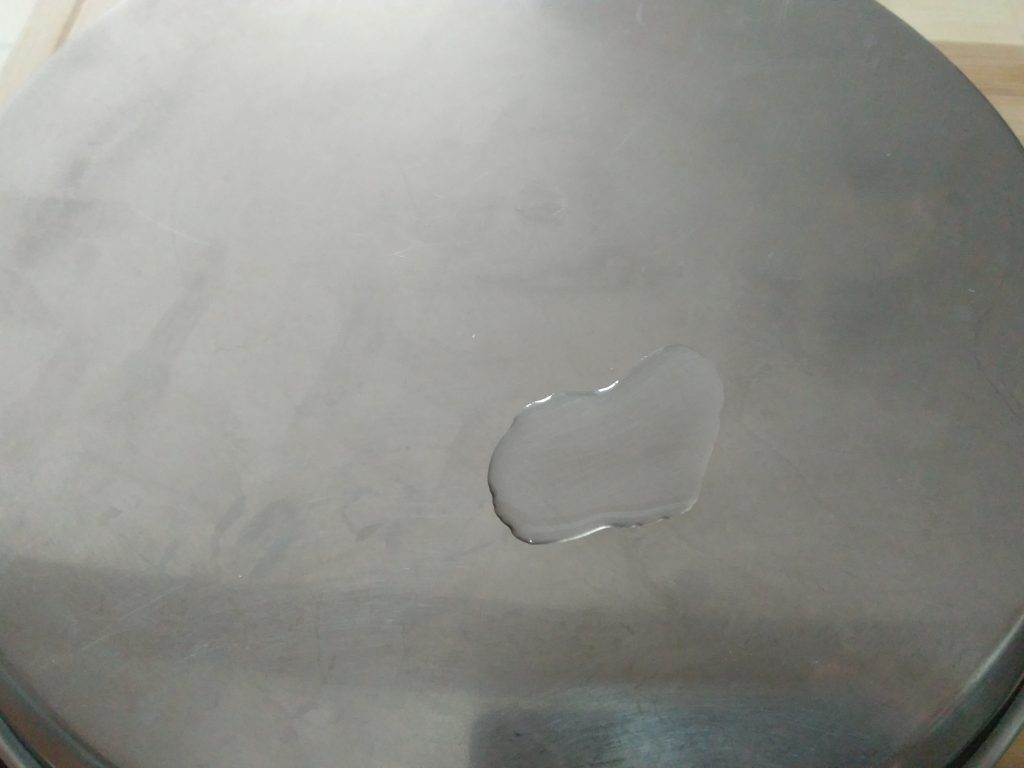
Oil over the back of plate
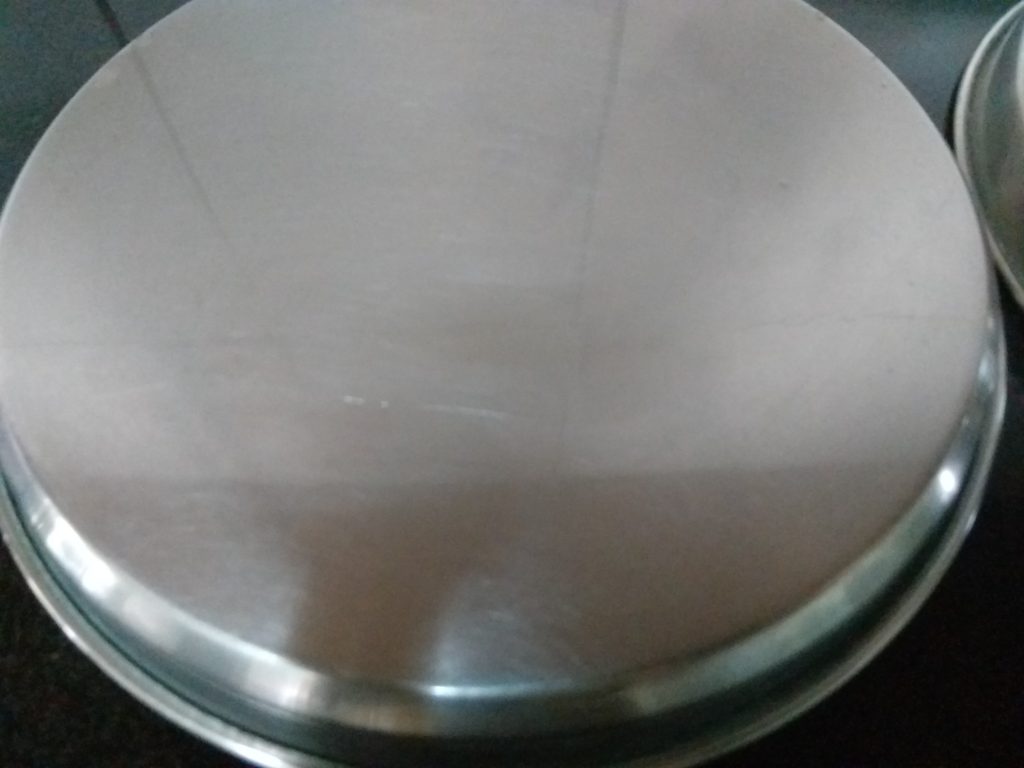
Back of the plate
- Empty the mixture in step #4 into a flat bottomed pan (Kadhai) and put it on gas stove. Switch on the gas stove on low to medium gas flame. Keep stirring with a stirrer. Khandvi mixture will begin to thicken slowly. We need to keep stirring it in order to avoid lump formation and batter sticking to the bottom of pan. It will take time to get the desired consistency. Time may vary depending on the intensity of the gas flame, size and thickness of the pan. It took me about 15mins to get the right consistency.

Khandvi batter in a Flat bottomed frying pan
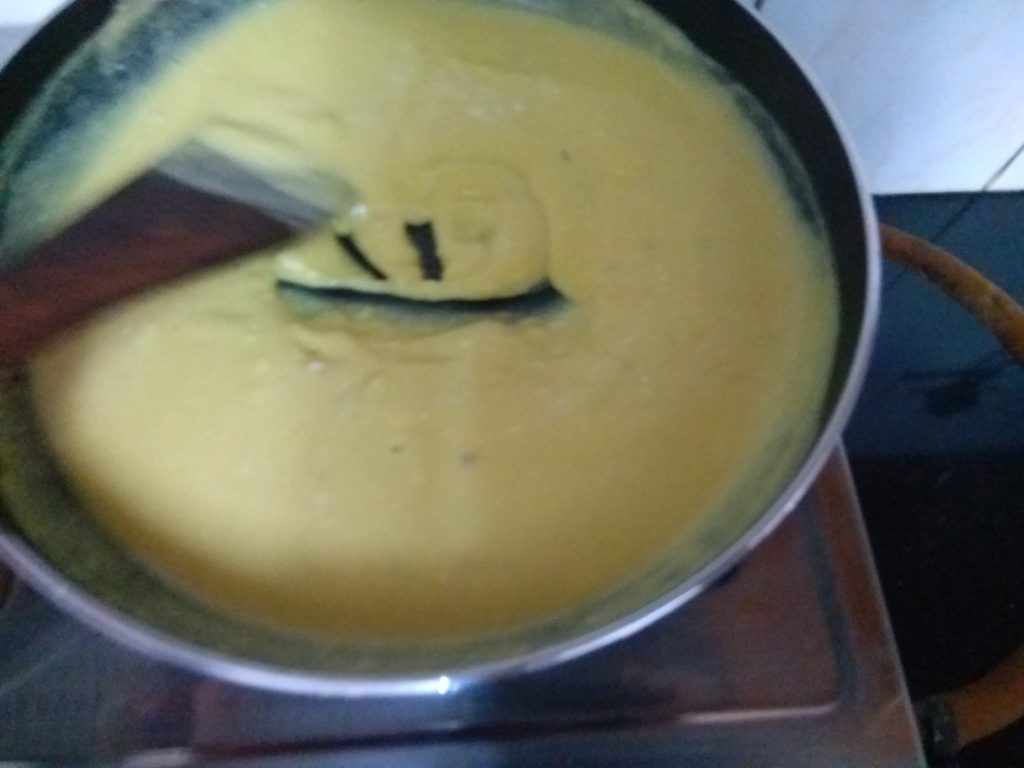
Keep Stirring the batter for Khandvi Recipe

Ready to be Spread
- When it looks like thickened batter is ready, we need to perform the plate test. Take a spoon full of batter and spread it over the back of greased plate. Let it cool. Start rolling it gently with your hands. If the Khandvi batter does not stick to the plate and rolls easily it means are Khandvi batter is ready. If the batter is sticking to the plate, it means batter needs to be cooked for few more minutes. It took 15 minutes for me to get the right consistency of the Khandvi batter. Time may vary depending on the intensity of gas flame, size and thickness of the pan.
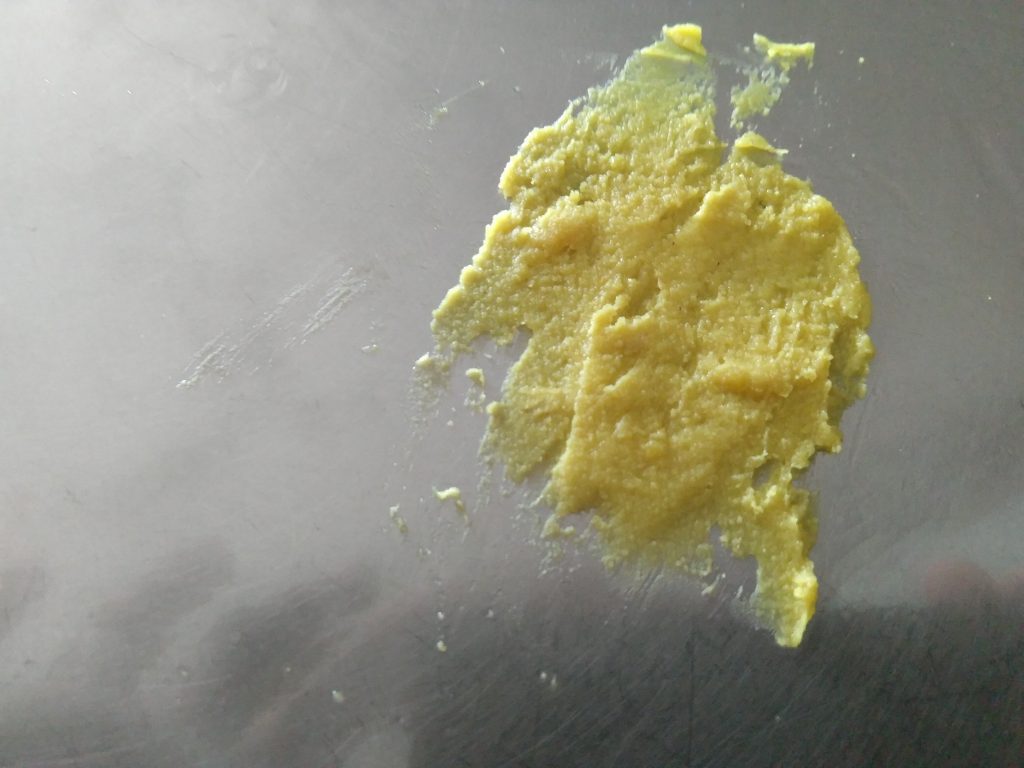
Plate Test for Khandvi Batter
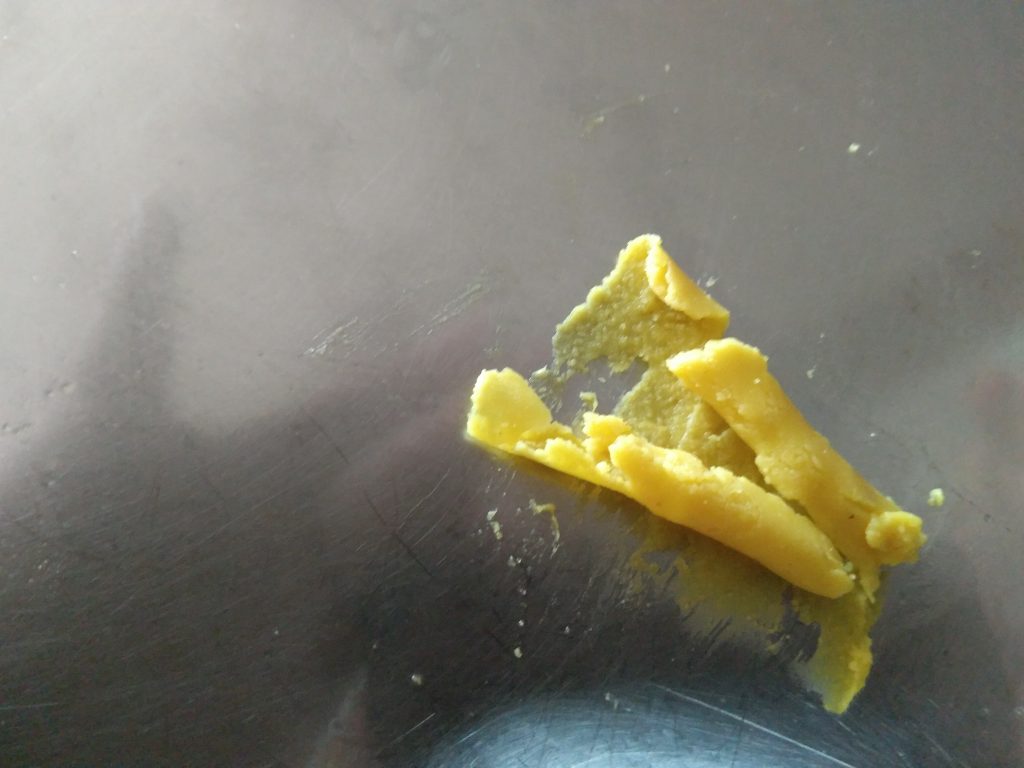
Rolling test positive for Khandvi Batter
- Take some batter and start spreading over the back of the greased plate into thin sheets. We need to be very quick as the Khandvi batter will become thick with time and it will become difficult to spread it. We need to keep the pan on low gas flame while spreading Khandvi batter. If the flame is off than batter will become cold and thick and it will be difficult to spread. If the consistency of batter is thin, we will get thin sheets and if it is thick we will get little thicker Khandvi but it will also taste good.
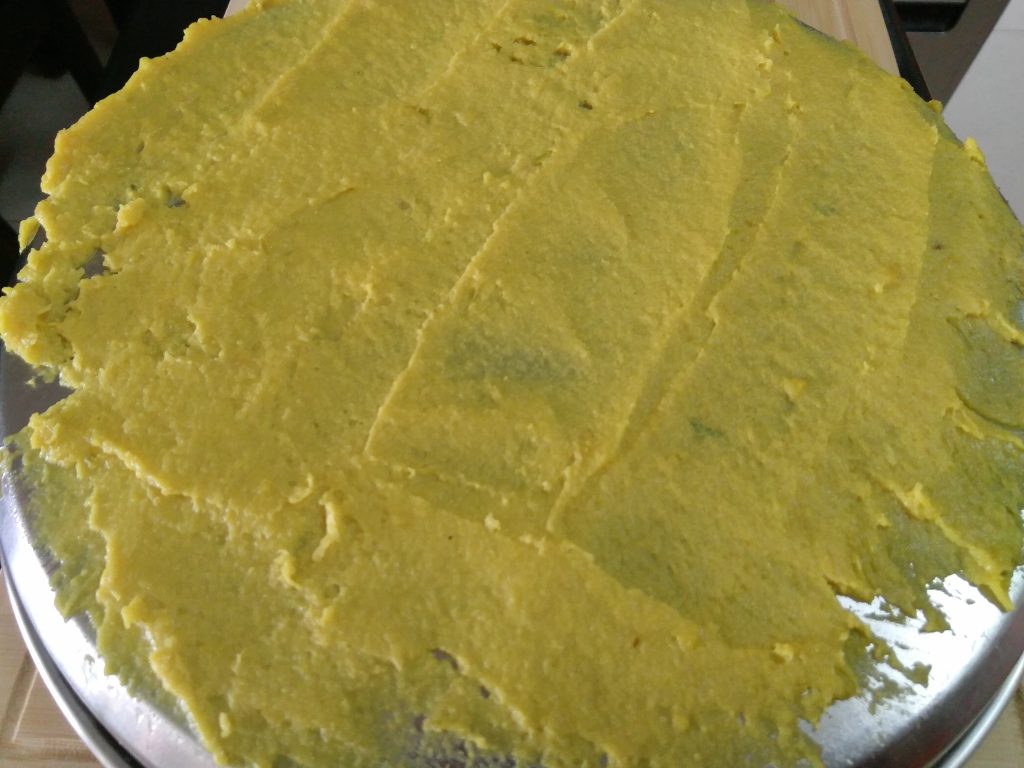
Spreading over back of plate
- Let it cool. Take a Knife and cut the Khandvi sheets into equal size strips. Roll it gently with hands so that it does not break.

Cutting into stripes

Rolling Khandvi
For Tempering/Tadka of Khandvi:
- Take Oil in a tadka pan and put it on low to medium gas flame. Let it warm.
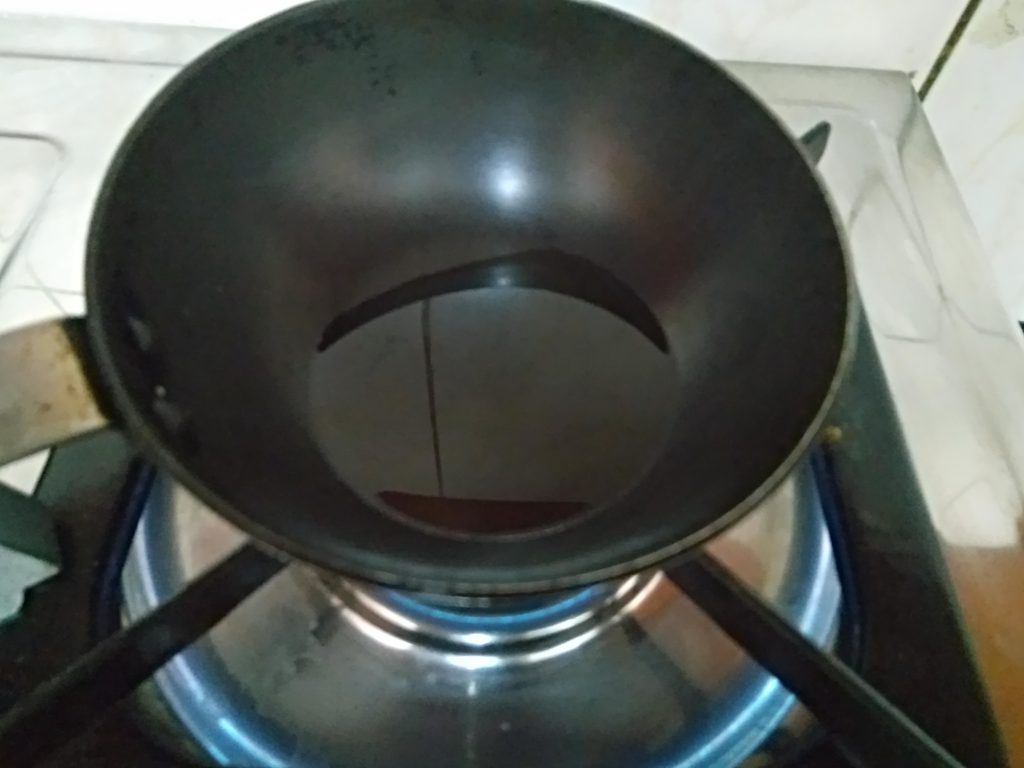
Oil for Tadka of Khandvi
- Add 1 tsp mustard seeds. Let it crackle and then switch off the gas flame.
Add Mustard Seeds
- Add curry leaves to the tadka and spread it over the Khandvi rolls.
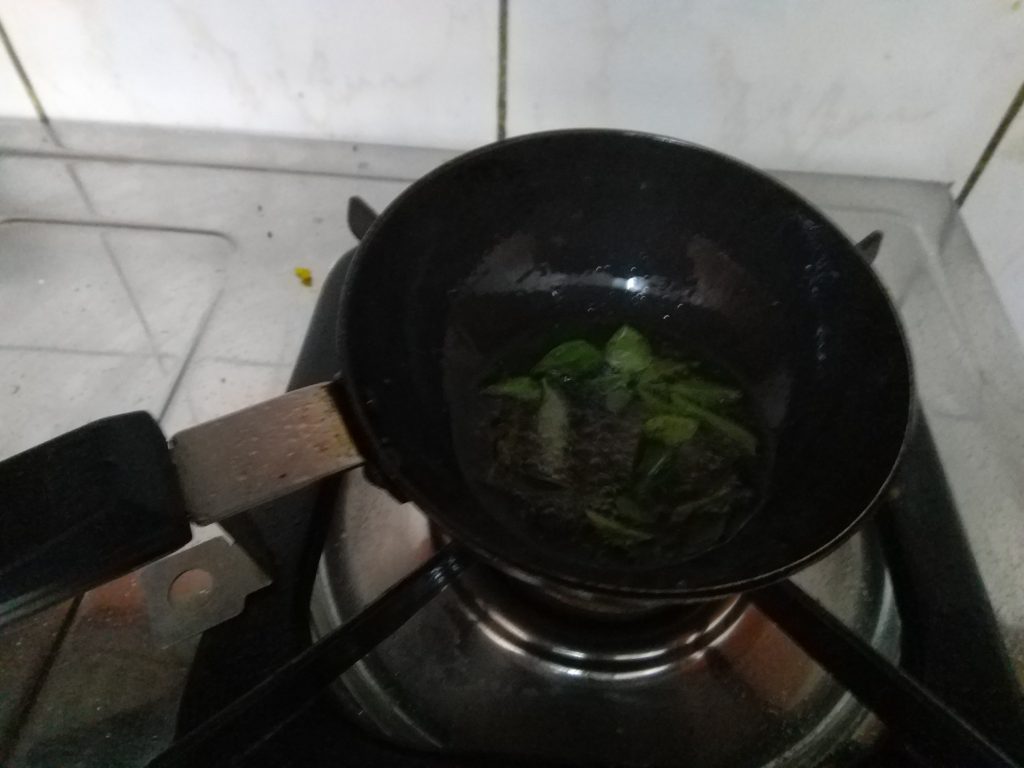
Add Curry Leaves in tadka for Khandvi
- Garnish it with grated fresh coconut and few pomegranate seeds. Serve it with Green Chutney or Tamarind Chutney.
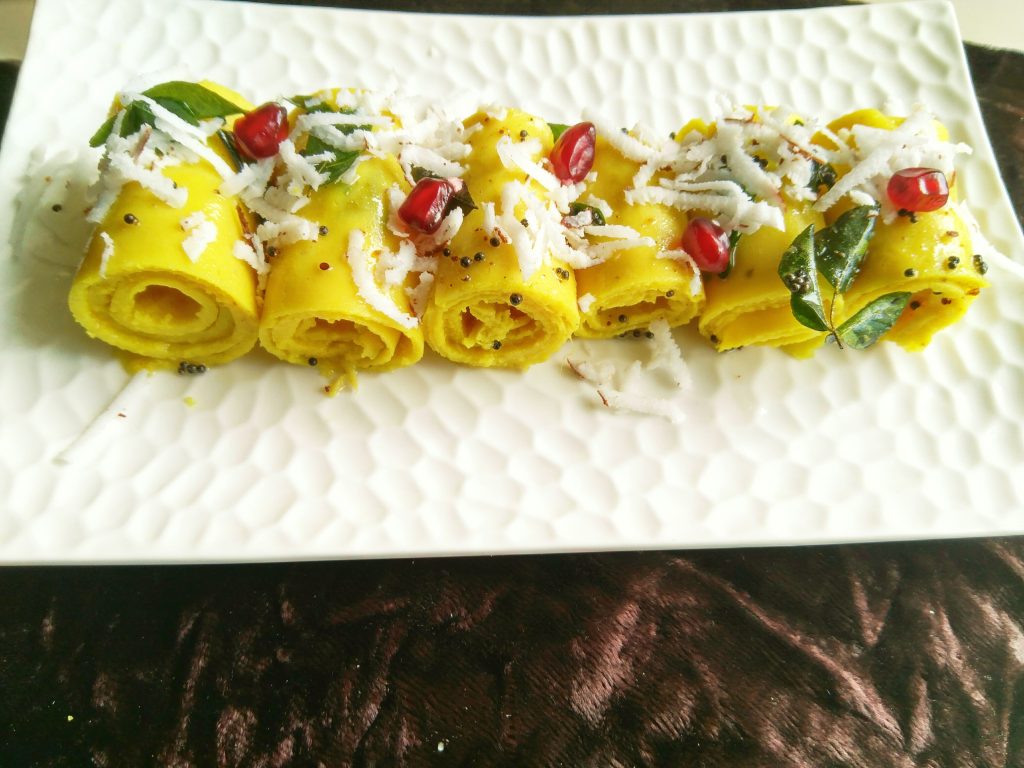
Khandvi garnished with grated Coconut and Pomegranate seeds
Important Points to be noted in Khandvi Recipe:
- Take fresh Gram Flour for making Khandvi. If the Gram Flour is not fresh then it will taste little bitter and Khandvi will break while rolling.
- We need to keep stirring the Khandvi mixture until we reach the desired consistency in order to avoid lumps.
- Always perform plate test to check if the Khandvi batter is ready or not.
- While spreading the Khandvi batter over the back of the plate, always keep remaining Khandvi batter over the low gas flame so that it does not cool down and becomes thick.
- We can even use Moong dal Flour to make Khandvi if you want to avoid Besan (Chana dal Flour) for health reasons. It will taste equally good.
- We can even stuff the Khandvi with fresh grated coconut and finely chopped coriander leaves mixture which is called Stuffed Khandvi. For this you will have to garnish the stuffing on the spread batter before rolling.
Khandvi Recipe Variants From Other Sites:
- Check out FoodViva for an interesting variant of the recipe called Khandvi Noodles.
- VegRecipesofIndia has added sesame seeds (safed til) and red chilly powder for tempering (Tadka).
Leave a Reply